- Author: BuzzFlick
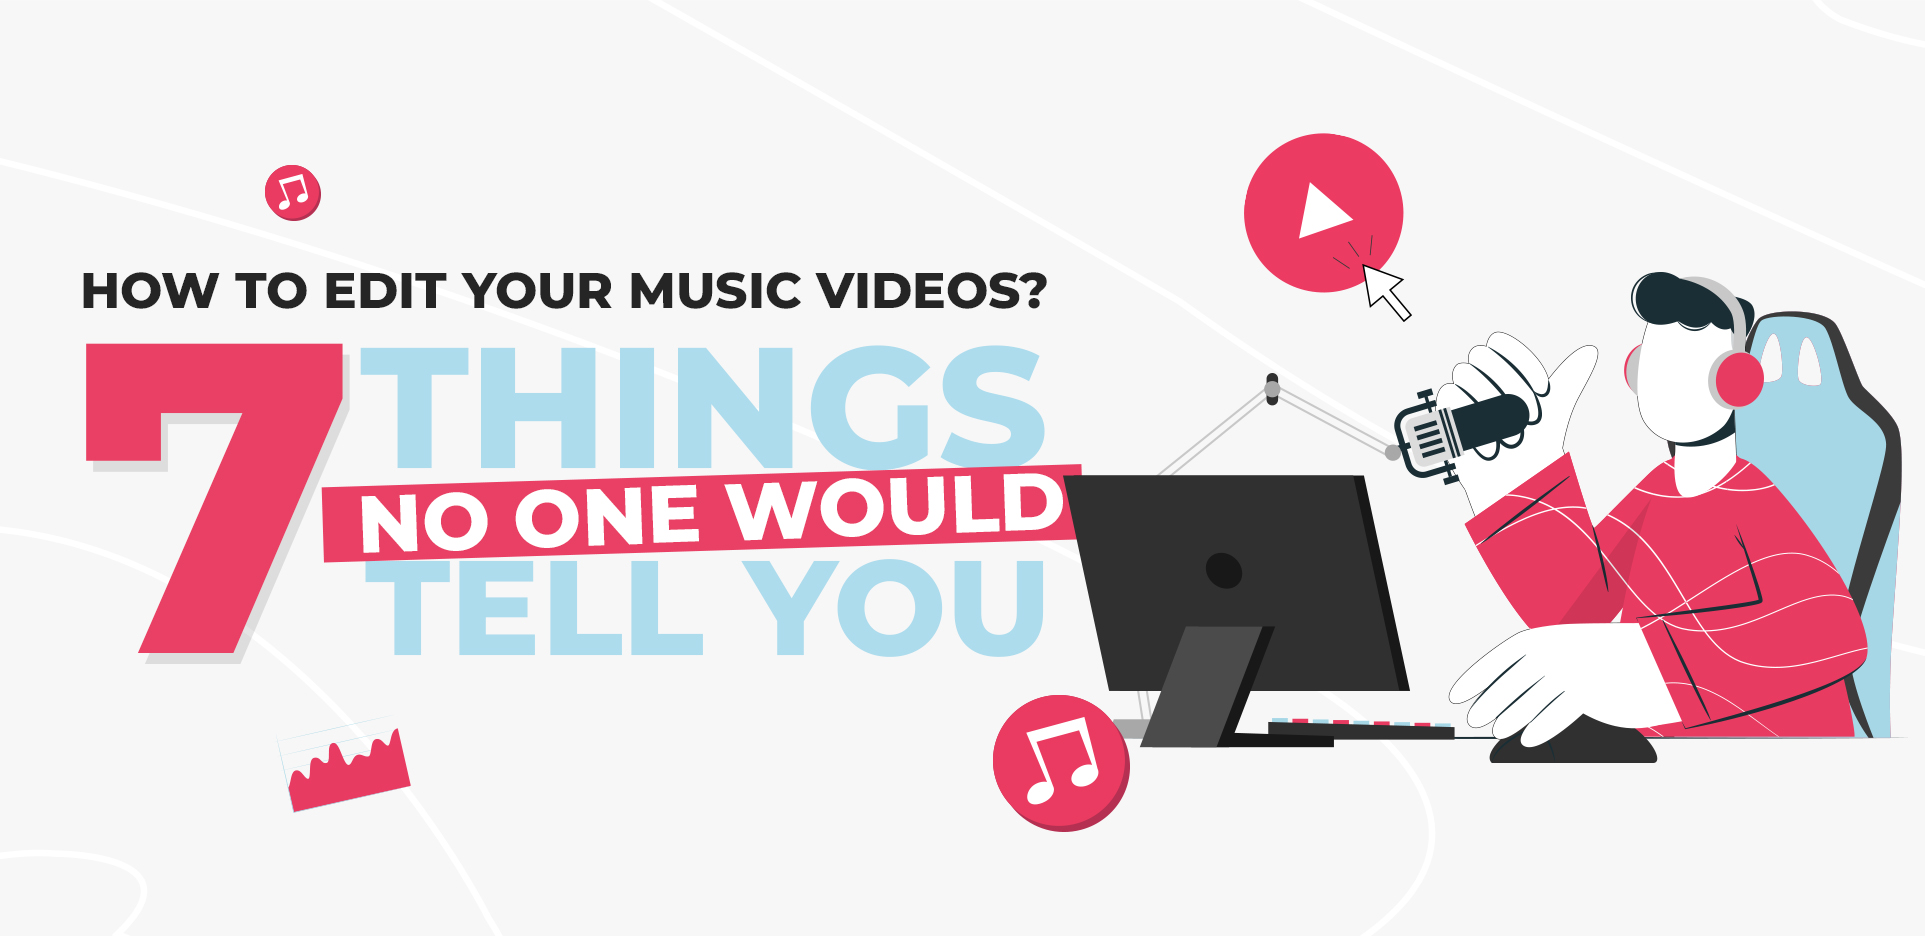
Date: May 3, 2024 - Category : Music Videos


Music videos are everywhere. But, the best artists are often hard to find. It is because music video editing is a complicated task. It requires great attention to detail, passion for storytelling, and pure love to make people move with your music.
This blog may not be ideal for you, if you’re just fond of listening to music, but never thought that creating your own video is not a cakewalk.
Anyways, in this blog I’ll guide you through seven of the most effective, yet the least spoken pro-level tips to edit your music videos for stellar quality, cinematic detailing, and powerful impact.
So, make sure to read on till the very end.
The first thing you want to do before you learn about cinematic quality of video editing, is to get hands-on experience with at least one of the finest editing tools in the industry. Following are five the finest video editing tools:
Choosing the right software is not easy. You need to be mindful of the learning curve, functionality, user interface, pricing, and even cross-platform support. While Final Cut Pro can be a fantastic choice, it’s certainly not for people who love Windows.
Plus, while tools can be an affordable option, it pays more to know that mastering the skill set of editing raw footage of a music video, and turning it into something wonderful is no small feat.
As always, it’s easier said than done. You might even be better off picking up a video editor for your job. They’re professional, and can take the job head-on from day one. You don’t need to get into the nitty gritty of editing. Hire for quality video editing service on the go.

But, if you’re looking for a more flexible guide on this, here are five factors to be mindful of when deciding upon your video editing tool or editor.
Now that you’ve finally decided, it’s time to start off with some pre-production planning.
You start off with the pre-production planning. Pre-production includes all the processes you commit to set your project up for success.
Pre-production is essential regardless of the nature and scope of your project. Whether it’s a music video that needs editing, or you want to create a documentary level of work, pre-production is where you lay down the groundwork for the project.
Pre-production encompasses everything from writing the story concept to brainstorming ideas for your footage, gathering artists, deciding upon camera angles, theme or style for the video, and a whole lot more.
This is where you start brainstorming your music video. Know that this step might not be possible for you, if you’re just editing the finished product.
As you continue to brainstorm, you’ll come across some fine references, or music videos that belong to the same genre as yours. Take them as an inspiration, and don’t forget to make notes. See what works for them.
Next, you now have a vision to tell your own story with music. Organize footage into sketches or drawings, if possible. Stock footage or spec creatives might also be helpful. Check the best stock music for videos, and take inspiration.
Your goal should be to have as many visuals on your story canvas as possible. See how they connect together to tell a heartwarming story.
Pay close attention to special effects, mood, and emotion, characters, pacing and timing, camera angles and lighting. Don’t forget to make notes.
If you feel like you need some pro-level assistance to guide you through, don’t fret. Here’s a list of the finest music video production companies who can take your project head-on, and even consult you every step of the way.
As someone who has worked with a creative agency, I can tell you that you need a lot of space to organize your raw footage. Here are some nice, small tips to keep yourself organized at all times:
As mentioned before, this blog features seven insider tips for stellar music video editing. It’s time for you to finally get your hands on gold. These tips should be taken as silver bullets, especially if you want to see your project do good.
So without further ado, let’s jump right in!
When it comes to music video editing, the first skill that is perhaps the most underrated is beat matching. While beat matching may be more familiar with DJs, you as an editor for a music video, should also look to master this art.
Yes, there are tools and high-end software that can do it for you, but doing it manually gives you the freedom to beat match your favorite songs, pace the video as you like, and even achieve a level of perfection, which many can’t with the mighty software.
To beat match tracks in your video, your job is to sync your video cuts with the music. Given that you already have two tracks to mix, and match, make sure to check each for their BPMs. Set the tempo for a smooth transition.
Plus, when it comes to beat, you should pay close attention to the mood of your footage. To make your job easier, you can also set the cue point for the second track, and the beats will match perfectly.
Color grading is for mood. Yes, it’s meant to enhance the aesthetics of your shots, but color grading serves multiple purposes. First, it sets the mood for each shot. Use of colors can change the perspective of an entire scene.
Warm colors might be ideal to trigger nostalgia, whereas cool colors can give you that futuristic appeal in your videos. Color grading might also be ideal for white balancing, and improving the quality of visual experience.
In addition, you can use a variety of color grading techniques to influence your viewer’s perspective. For instance, red might be more suitable to hint on danger, or alarm of a particular element in the video. Besides, blue can leave the impression of calmness, whereas green speaks of money, and nature.
Apart from this, use color grading to isolate subjects. You can do this by painting focal points in striking contrast with their background. Color isolation is often done to draw special interest from the viewer.
Whatever you do, you cannot overlook the need to collect feedback, and make necessary changes. Don’t just get complacent with your screen only. Make sure to change displays, and ask your team, and even viewers to share some insights on colors, and mood of your shots.
Creative transitions are the first thing that keep your viewers tick to the video till the very last second. Plus, you may not pay attention to this, but creative transitions are an asset, and perhaps what truly make a video editor’s work authentic, and wow-worthy.
Make sure you can include enough creative transitions as these are very common in the best music videos we’ve today.
It unlocks a thousand creative possibilities to showcase your narrative. Plus, if you can hone your authentic style, people will familiarize themselves with your artwork very soon, and you can use it as a distinct identity of your YouTube channel’s production.
This is where you can awaken your creative muscles. Adding effects and overlays can make your music video a real treat for your audience. Effects is a broad term, and I can’t simply cover everything about them.
Pro Tip: Make sure to test your effects, and overlays with different editing tools.
So, will adding burns, and dread effects light up your rock music video? Or perhaps a retro effect is an ideal addition for hip-hop video? What can you do to add a cinematic level of detailing to your shots?
The answer to all these questions is one, experiment with the best tools in the industry. Plus, hop on to Justin Odisho, and Cinecom.net on YouTube.
Besides effects, you can also learn a great deal with the use of video overlays. Overlays work well to paint an entire story in a seamless way. You can create overlays to emphasize pre-recorded footage, quotes, pictures, animation and graphics, and much more.
Again, the only way to master is to continuously look for the best references, and share your work for some critical, yet insightful feedback.
As much as everything that’s discussed for your music video editing, audio layering itself is an art. And, mastering it would require a lot of patience, perseverance and experimentation. Layering is not just a vertical game, where you need to mix up audio levels.
But, there’s more to play around, and pay attention to. The horizontal lines allow you to manage different audio files on a timeline. So don’t overlook its significance in audio layering.
Plus, the pro tip here is to don’t go overboard. Your objective should be to add depth to your music with audio layering. For that, you don’t have to fill every ounce of space you’ve got.
Keep it clean and simple. If all you need is two audio files, don’t clutter the timeline with ten. There’s always room for experimentation, as long as you want to create depth for the experience, while keeping sound mixing, clean, and simple.
Speed Raming is all about pacing and timing. This is an intricate job, and mastering it can take months, and even years. You need to be able to grasp the mood for each scene, and blend audio accordingly.
Your goal should be to add dynamism to your video with use of smooth music transitions. You can even use both text and graphic overlays. Threading small cuts is a common practice, but make sure they form into one single, cohesive footage that communicates a singular idea.
Now that you’re done with the finished video, it’s time to export it to your desired format. Make sure you’ve got the formats right for the platform you aim to post the video at. Know that dimensions, and size vary between Facebook, Instagram, and YouTube.
So, make sure you’ve got it right.
You may feel like your job is finished here, but ask yourself, won’t you like to review the footage again? That’s what we call revision. It’s time to roll up your sleeves, and sit in front of the screen to catch mistakes that were previously missed.
Some shots might be shaky. So, make sure to add video stabilization. Plus, there’s always room to clear fluff. Make sure to clip it out. You don’t need to start with revision the same day. It’s always recommended to take a day off, and revisit the video with a fresh mind, so you can have a new, and perhaps a critical perspective to it.
Whatever the tool you’ve in your arsenal, or whether or not you outsourced the video to a music video editing service, the process remains the same. You just can’t launch the video without giving a revision, which is always due.
For an impactful launch, you can’t get complacent. Yes, you’ve a fantastic music video, but how will it make it to every screen on YouTube? Well, you might do well with some pro-level consultancy to crash the YouTube algorithm, and get a tsunami of traffic on your music channel. Don’t shy away from getting FREE consultation for Video Marketing Service.
We covered seven special tips to master your music video editing. But, will it be fair to bid goodbye for now? I don’t think so. In fact, I’ve two more advanced techniques, which you can use to enhance the quality of your music video footage.
So, let’s check them out.
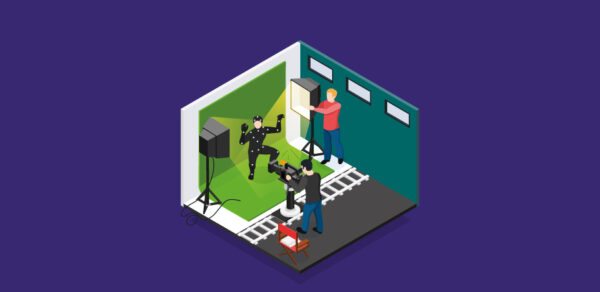
This is where we take your music video work to a megastar’s album launch. Let’s dive into special effects, and compositing. Special effects or VFX is purely green screen work. Your actor will stand in front of a green screen, and record their part of the footage.
You can use play around with elements, different backgrounds, or even entire atmospheres to bring your story to life. While green screen is essential for VFX, compositing is pivotal to make it all work.
Composition allows you to play around with elements, and backgrounds, and blur the lines between reality and fiction. It threads everything together, making it all seem smooth, seamless, placed perfectly in a single realistic footage.
Compositing is a crucial yet the most challenging aspect of the post-production phase. It is an art, and to master it you require professional video editors to execute it delicately, without making a mistake. If you’re seeking help with compositing, and green screen work, you can always connect with a professional Post-Production studio.
In addition to compositing and VFX, we’ve animation and motion graphics. Motion graphics light up the scene, and can take the visual appeal of your music video to a whole new level. Plus, if you’re fond of playing with shapes, then motion graphics and animation can be synced with beats to tell a story in an unconventional, yet engaging way.
Here’s the list of the best animated music videos for you to fill your mind with some creative inspiration.
Whatever you do, the purpose of animation here is to hold your viewer’s attention, intrigue them till the last second of the video. The practice is also very popular among some of the best content creators on YouTube.
While animation, and motion art may appear on the more expensive side of editing, you can always outsource them to a full-blown video agency that specializes in YouTube video production for a reasonable price.
We’ve talked about what you need to know and must do. But have we talked about what you must avoid at all costs? Well, as much as fun editing your own video may sound like, it’s never easy. And, unlearning to do something is possibly the hardest thing for even some of the best video editors. So, here are some common pitfalls to avoid:
Don’t go overboard with using visual effects. Your goal here is to enhance the aesthetics of your video. You want to keep it professional, and clean.
Last but not least, your music video should be cool enough to tell a story on its own. Don’t get lost in the aesthetics. Make sure you’ve a narrative that flows smoothly till the end.
Calling a tool best really depends upon what you plan to use it for.
The cost of editing your video depends upon a number of factors including quality, budget, and the experience of your video editor. On average, the cost could be between $300 and $800 per day. If you’ve signed up for a beginner level editor, then expect the budget to be under $500. However, if you’ve got more experience, and quality editors, make sure to keep your budget in the mid-range $450-$750.
Here are some supercool tips to make your music video a true standout:
Let’s wrap this one up. We covered seven of the most unspoken, yet cool, and advanced tips to take your music video editing to the next level. Plus, we also added details about two advanced techniques for people, who’re into content creation, and want to produce outstanding content for their YouTube channel.
That’s it for today. Hope you got a nugget or two.
Related Article: Video Editing Tips – A Complete Guide
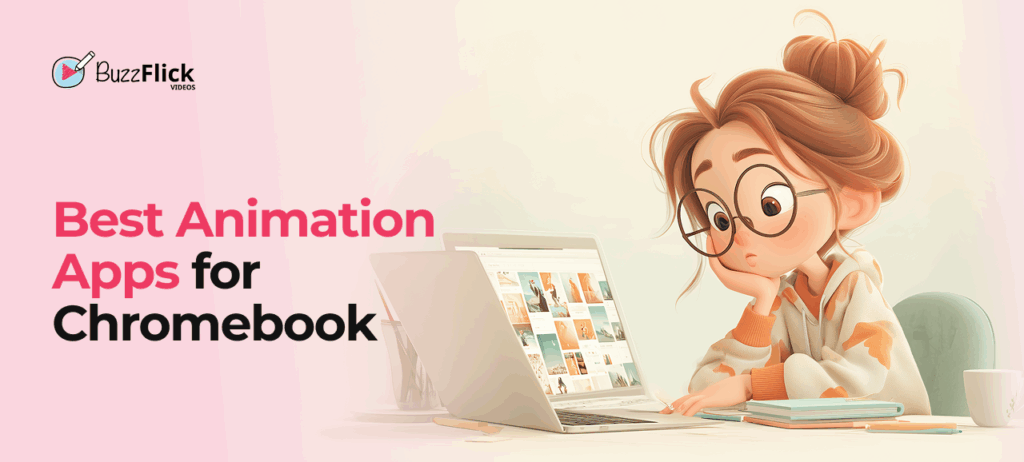
Chromebooks have grown from just for typing essays and watching skits to letting everyone test their creativity in their desired ways. Yes, those days are...
Read More
Get A Custom Quote Now
Copyright © Buzzflick 2026, All Rights Reserved.
Get Video Animation at Reasonable Prices at BuzzFlick! Get A Quote!