- Author: Eich Eyf
Date: Nov 3, 2025 - Category : Video Editing, Video Production


We’ll definitely be on the same page if we say that video or film making is tedious and messiest business.
A video or film maker has to bear a lot of pressure, especially when it comes to religiously following the stages of editing.
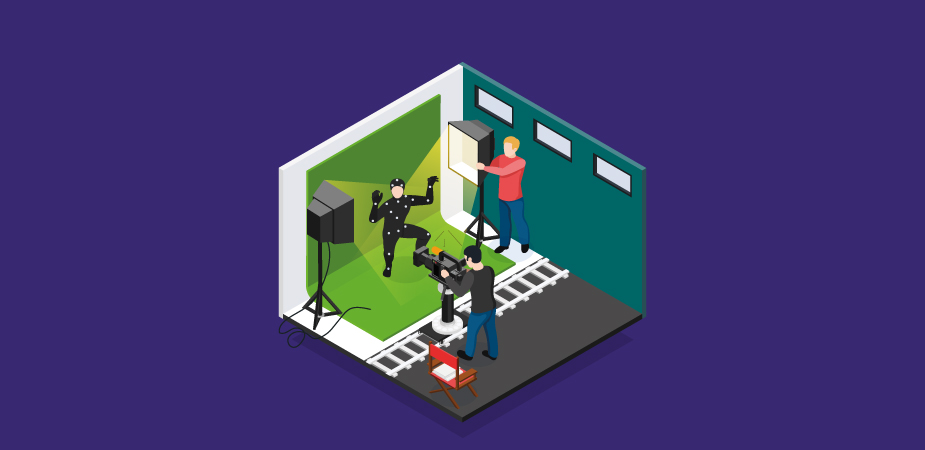
BuzzFlick is now offering live-action video production services, and believe it or not, and it’s much more difficult than making a simple animated video.
Scheduling shoots, gathering all the crew, and keeping all the equipment in place. A single disruption during this process often feels like sailing around in choppy waters with no dry land in sight.
In 2025, 91% of businesses use video as a marketing tool, and 88% of marketers report positive ROI from video marketing
Oftentimes, editing is a haven of peace after the chaos of production, and it even allows for a catch-up. Assuming, of course, that the tried-and-true 5-step procedure is followed.
So, without any further ado, let’s learn more about the 5-step video editing process.
The video editing process seems to be a very daunting task but trust me, it’s way easier than production.
Once the video is shot or produced, all you need is to sit in front of your system and dedicate all your time to editing. Here are the 5 steps involved in the process of video editing:
Let’s explore the 5 stages of video editing in detail together!
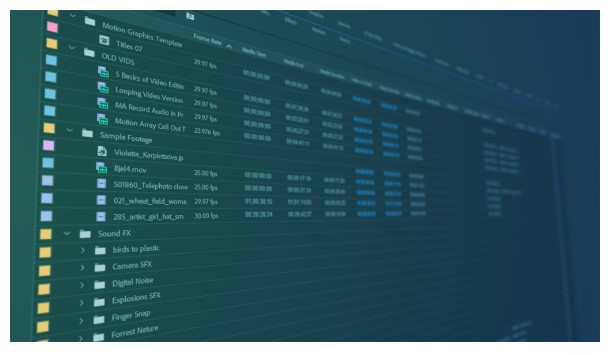
Initially, you will be tasked with recording all of your shooting data. This is where you go through all of your source video footage, take out all the usable clips, organize them into bins, then name those bins properly.
That way, when you’re searching for a specific take from a specific scene, later on, you can save yourself the hassle of trawling through hours upon hours of footage and instead delve directly into its bin.
Logging may seem like a chore, but it’s also the first time you’ll get to see how your video looks on screen, which can evoke a wide range of feelings, from excitement to terror.
If the videographer finds that any of the video’s footage isn’t up to snuff or is missing an essential element, he or she will likely order a re-shoot, which is an inconvenience but not a deal breaker.
The reason for this is that on most major projects, logging occurs simultaneously with shooting, so if anything isn’t right, the editors may alert the director relatively instantly, and the director can schedule a do-over while the cast and crew are still in place.
A tight-ship feedback loop like this one is obviously not achievable if your team is small or if you are also serving as the video’s director and editor.
Your logging will likely take place days, if not weeks, following a shot. Not perfect, but hey, nothing is perfect in low-budget production.
Note that video editing software like Adobe Prelude and Kyno exist if you feel uncomfortable keeping track of your material on your own.
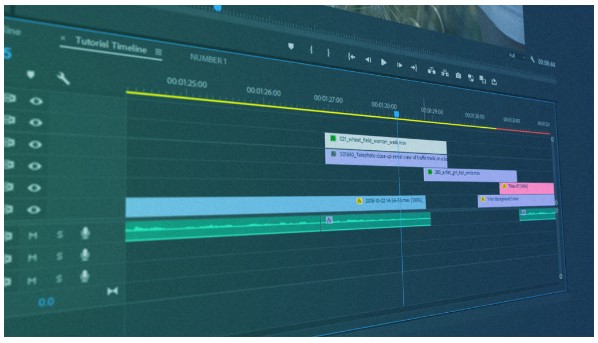
In the initial assembly, all of the recorded footage is put together in a sequence that follows the video’s script.
This can be a huge undertaking, especially for longer videos; therefore, editors will generally organize each scene separately before putting them into a larger sequence.
The initial assembly, like the first look at the footage in logging, is the first time you see your movie set out in a linear, organized style, although a very long one.

To preserve flexibility until the next step, you should include many takes of the same scene at various points in your timeline, leading to a first assembly cut that is roughly twice as long as the final output.
Which is just what you need! Why? Because in the following phase, you’ll be taking a pair of hedge clippers to your unruly, fuzzy timeline.
Make sure you preserve the whole, untidy state of your first assembly before you get started. You may always start again from scratch with a whole new set of parts and a fresh assembly if you make a colossal error in the future.
Okay, now it’s truly time to wake up and switch on that wonderful video-making mind of yours.
So far, it’s been all about cruising on auto and following fundamental methods. But from here on out, you’ll be needed to make some very harsh decisions, and nowhere will they be tougher than during the rough cut.
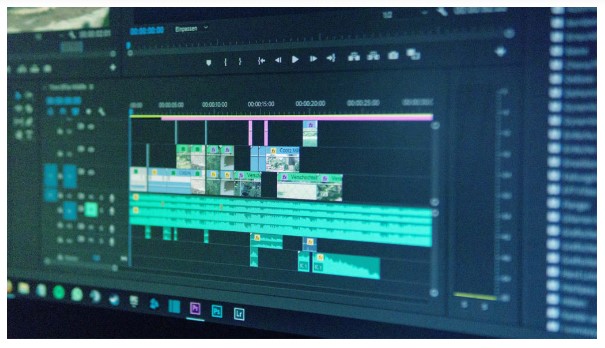
With the rough cut, you’ll be cutting that crazy-long initial assembly down to one clean, tidy first draft. This means going through all of the different versions of each take and picking out the best one to keep. Delete even more of your Facebook pals than you do every year.
The video’s structure and pacing will be your next focus as you insert cuts, transitions, titles, dummy narration, and anything else that will assist transmit the story’s intended feelings and messages to the audience.
A videographer will be watching over your shoulder and giving significant input throughout this phase.
When you’re on your own, you get complete freedom to express your originality.
After finishing your rough cut, you will present it to your client or director in the hopes of hearing the words “Love it!” This will indicate that no major structural changes need to be made and that you are in the final stages of post-production.
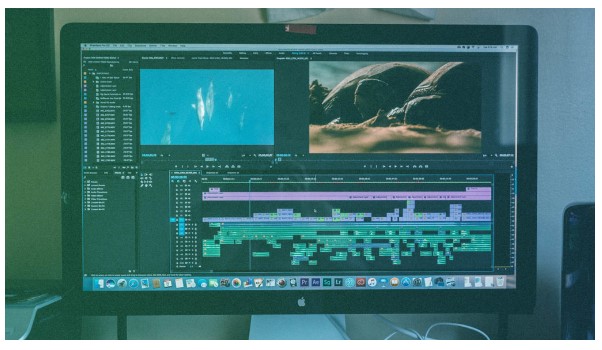
In contrast to the rough edit, which focuses on polishing the picture as a whole, the fine cut pays meticulous attention to every single frame.
Therefore, you should probably put on your microscope glasses. No, but in all seriousness, you’ll have to scrutinize each cut meticulously to ensure a smooth transition from one to the next. If there are any blemishes, the fine cut is your last chance to catch them.
This is because, after the fine cut, the video is given a “Picture Lock,” which means it can be sent to other departments for post-production work (such as color corrections, special effects, etc.), but the timeline and TRT (total running time) are locked in and cannot be changed. Because if they are, it’ll be really expensive and things if they are.
It goes without saying that if you are in control or working alone, you can disregard the time-honored Picture Lock rule and make as many revisions as you like. This is the last chance to make changes if you’re working with a video animation agency or group.
When working on a huge production, your input towards the end result will be minimal at best.
During post-production, the editor usually takes a back seat as a specialist in areas such as color grading, audio mixing, special effects, and closed captioning, transforming the picture into something truly spectacular.
This last step will appear significantly different if you’re working alone. Instead of kicking back, you’ll be frantically searching the interwebs for royalty-free music, sound effects, motion graphics, and anything else you can find to spruce up your stages of editing process.
This step can be particularly challenging and time-consuming because of the wide variety of websites selling a wide variety of items for a wide variety of processes.
Therefore, in order to lessen some of the responsibilities, you will want to locate one marketplace providing all the things so that you do not have to flutter around from site to site for hours on end.
You might find the Motion Array library very good. More than 70,000 items, including motion graphics templates, royalty-free music, and stock video footage, are available to download.
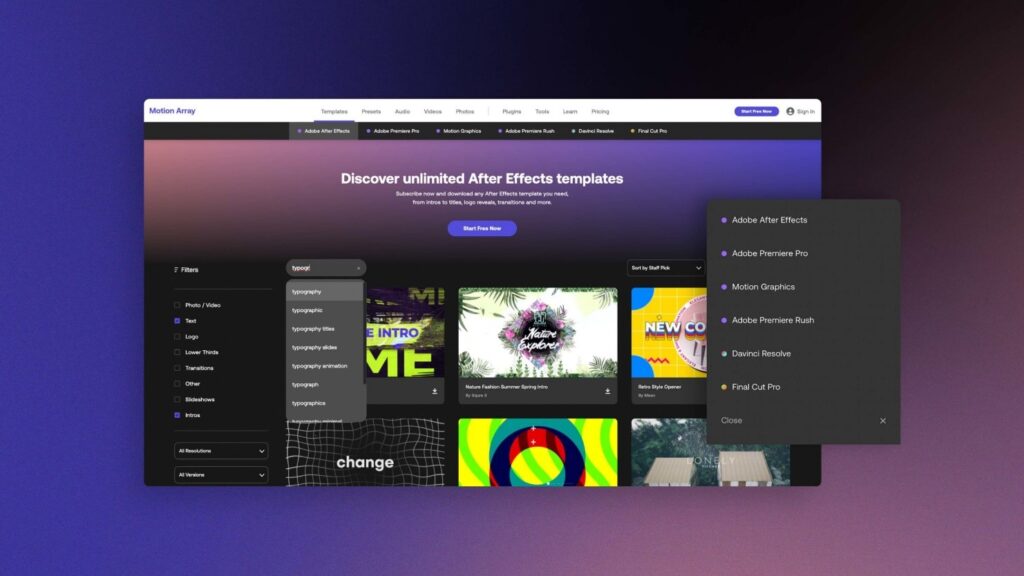
Source: Motion Array
Those who are thinking about it can try out no-risk, beginner’s plan.
P.S.: If you’re not ready to do it yourself and looking for assistance in video editing, then check our list of top-rated video editing companies.
It doesn’t matter if you’re a one-man army working on your passion project or a big post-production company; the 5 stages of editing will always yield the best results. To put it simply, that’s the most logical choice.
You can approach post-production and video editing services in any offbeat fashion you choose and they’ll for sure follow these 5-step video editing techniques.
Remember that any deviation from the standard procedure will add unnecessary work and delay the process, which is terrible.
Every video editing project is different with various requirements, but you can follow these 5 basic steps in video editing to achieve perfection; Logging and previewing your footage, assembling and planning your video project, creating a rough cut, refine your footage edits, and finally, export finished video.
The price of video editing can vary. While some companies charge a fixed rate, whereas freelancers often charge per hour. With that said, a beginner level video editing will typically cost you from $20 to $45 per hour. The cost may surge for intermediate level editing from $45 to $100 per hour. If you want to hire professional video editors, expect a range of $60 to $100 per hour.
The “321 rule” in video editing is known by every video maker and editor. Following this rule means that one should make three copies of video content in two different folders or places. Keep in mind your goal, i.e., telling an engaging story to your audience with your videos. And you can attain it only when you keep on editing, editing and editing your video content until you achieve that level of perfection.
There are following types of video editing:
There are 5 stages involved in video production; strategy, development, pre-production, production and post-production. Each stage helps plan ahead and prepare for the upcoming stages to ensure the smooth and seamless video production process.
Want to grab the attention and eyeballs of your audience? Use these cool video effects in your videos and make them look amazing
Read More
Get A Custom Quote Now
Copyright © Buzzflick 2026, All Rights Reserved.
Get Video Animation at Reasonable Prices at BuzzFlick! Get A Quote!

