- Author: Sophiea Ank
Date: Mar 29, 2022 - Category : Video Production


Thinking of creating your own video recording studio and don’t know much about it? Then, my friend, you have landed on the right article.
Video content has become an essential asset for digital marketing, and various marketers include videos in their marketing campaigns to gain more sights. Whether it’s a marketing campaign or an online course, video is beneficial for all.
94% of marketers have stated that the video content helps their targeted audience understand their product or services better, and 50% of online customers have claimed that video helps them decide which brand they should make a purchase from.
These are some massive statistics that have proved the importance of utilizing video content for business objectives.
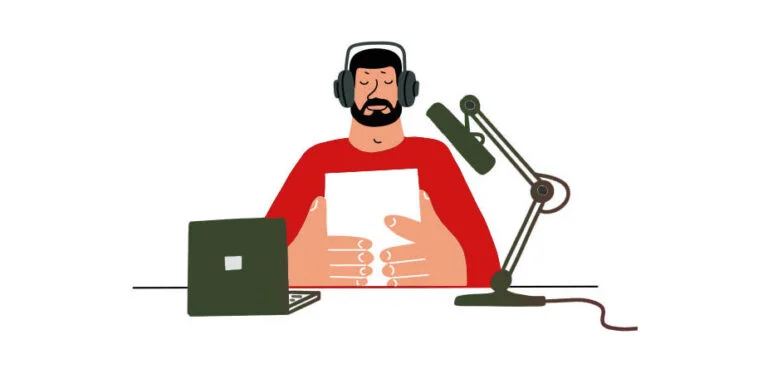
Creating video content is not as difficult as it seems. If you have sufficient skillset and required equipment, then you can easily produce quality video content anywhere.
P.S: If you want to learn about tools that are essential for video production, then check out our article about video production equipment and software that will help you understand your video production need and suggest your equipment accordingly.
Many video creators use their offices, homes, and even their cars to create video content for their audience. This means that you can also create high-quality videos for your audience at home with some budget-friendly equipment.
In this article, we will be talking about how to DIY your home video studio. We recommend you’re the tools that you will be going to need and some pro tips.
So, without any further ado, let’s jump right into it!
For all the video creators out there, gear up yourself because you don’t need a big video production studio to create high-quality videos. Today, you will learn how to set up a video production and recording studio at your home.
Video studios can be set up using the equipment that we use in our daily routine, but there is always room for upgrading. We will tell you what you need to buy or what to reuse according to your budget.
Various video creators and enthusiasts are out there who do not have a budget but aim high to create quality content. This list is for them, so let’s take a look!
If you don’t own a camera, you can always begin shooting video from a smartphone or laptop. They are always a free option and capable enough to deliver quality results.
While shooting a video with a smartphone, remember to keep it in the horizontal position to create a widescreen video, and if you are using a laptop for shooting, place it in an upright direction.
Note: Clean your cameras before shooting; the clouded lens makes the video blur to watch, and make sure to set the camera at a 90-degree angle; tilted video will look distorted.
It is the best practice to keep the camera at the face level of the subject, and using a tripod helps you capture flattering shots. Those who are using a smartphone or handy devices can use small tripods.
In the market, there are multiple tripod options are available that you can choose according to your need and video recording device.
If you choose to use a laptop, then your problem is solved. Just use some books and stack them to elevate the camera to face level.
Video editing is as crucial as video production and requires qualified skillsets and software to execute the tasks smoothly.
You can use FiLMic Pro and iMovie, some of the best video editing tools for iPhone-captured videos. Screenflow and Camtasia are the high suggested software for Windows and MAC video editing.
P.S: Here is the list of video editing apps for Android and iOS devices that you should consider when beginning with video editing.
It is highly suggested to avoid video shooting with the camera zoomed in. On a smartphone, the video gets blurred when zoom-in is applied. Instead of disturbing the video pixels, move the camera close/far as needed.
Various smartphones come with cinematographic cameras that do not affect the video quality or disturb any pixel, but still, for safe video shooting, avoid zooming in.
Well, it is a minor thing that might not catch an average viewer’s eye, but if it catches the sight of an expert, it is a major video flaw. Just simply go to the camera setting and set the video speed to 24fps. It will make the viewing experience smooth and your video more of a cinematic look.
Use one phone or laptop for shooting video and use another phone as a mic to record the audio. This practice might look difficult, but by practicing it, you can improve your audio quality. Place one phone or laptop in front of the subject to record video and put another phone closer to the subject to capture clear audio.
Later, while editing, you can combine both together and present them as one.
When you begin with merging audio with your visual content, it will be necessary to know the start of the scene to sync both properly. You can use a clapboard, but there is something way better and cheaper than a clapboard – your hands.
You can clap loud with you both hands at the start of the scene, which creates a noise spike and help the editor to identify the beginning of the scene.
You know that background of a live-action plays an important role in video recording. If you are recording video at your home, use a sheet or large piece of fabric to cover your background. Use black colored sheets as it helps in enhancing the light on the subject.
Use common and soft household objects to prevent echo and noise in your studio. This is the most common issue that most creators face. It happens when the room has more space and less furniture, which creates echoes in the room.
You can use echo canceling cushions, regular pillows, rugs, cloth, or even couches to minimize the echo in the room and cancel the unnecessary noises.
P.S: You can even add some furniture to your studio to give an aesthetic look to the studio or video.
The available lights or lamps are unfortunately not ideal for creating even and warm lighting in the room. And light is the most important asset of the video. If your video has bad lights, it will give unwanted shadows and make the watching experience disturbing.
Instead of using household lamps or lights, use natural sunlight. It gives more of an aesthetic look and illuminates your studio with balanced light. Whether it is a production house or home studio, always remember that lighting is the key.
DIY home studio does not mean a cheap studio or just utilizing the available equipment. If you need to upgrade, then upgrade. Invest a little into your studio equipment to create a high-value studio.
An upgraded studio has two major benefits: your investment will yield you a high return, and you have the chance to alter your studio anytime you want.
It is quite challenging to know where exactly to invest but essentially invests in 3 things:
Using a long microphone is better than hanging your smartphone through a fishing rod on your subject’s head. A good mic records voice more clearly than a regular phone.
There are so many microphones out there, but creators still prefer Blue Yeti, which is quite affordable. Microphones of Blue Yeti are even available at prices less than $150.
Natural lighting is highly recommended for DIY home video studios. Even natural light, though, isn’t always reliable for video recording. Clamp lights are the best choice for a time like those. To balance out the light and eliminate shadows from a moving subject, add two lights pointed at the main subject at 45-degree angles and one light targeted at the backdrop.
Diffusion sheets also reduce the brightness of the light to a comfortable level. If you are going to use studio lights, make sure to block out as much natural light as possible.
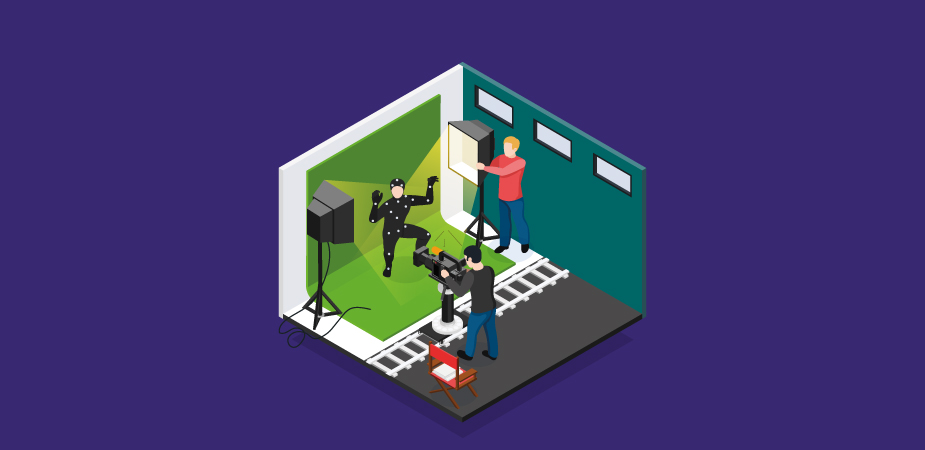
Upgrading from a smartphone or laptop to a real camera is a natural development. There are several options, but we found the Canon SL1 to be a good and reliable option. Remember that tripods are almost always required when purchasing a camera.
Here are some video pre-production tips that you should consider while beginning with the pre-production.
Strong designers understand that conducting competitive research is always a good idea. Examine the technical aspects of competitors’ videos:
Analyzing other people’s teaching approaches can aid creators in developing their own.
Although it may seem natural to sit in the middle of a video, but it may not be the greatest decision. It might make more sense to set out to the side for those displaying merchandise or adding text overlays to their videos.
Avoid sitting too near to the camera in addition to frame arrangement. We have seen some videos that give a feel that you are actually talking to someone on the other side of the screen. Trust us when we say there are other methods to get up close and personal with the audience.
This can be accomplished by maintaining a distance between the background and the subject. When the camera is focused on the subject’s face, it is less likely to focus on objects further away.
Another alternative is to change the lens on the camera. Changing the aperture affects how much of a scene is captured by the camera. The smaller the portion of the scene that is in focus, the lower the aperture number.
We won’t go into detail about photography right now, but keep this piece of advice in mind: Do you want a hazy background? Increase the distance and shoot at a smaller aperture.
It’ll feel weird at first, but the only way to make it feel better is to practice—and then practice some more. Give a practice read to the script; it will help you create more of a natural look to the video.
At BuzzFlick, we have some post-production tricks that we follow in each video project to make it look unique and captivating.
Take about 30 seconds of “room tone,” or the room’s background sound. Turn on the microphone and start recording.
This sound will be used to fill audio gaps, reduce white noise, and smooth transitions from one scene to the next throughout the editing process. It’s a lot faster than trying to fill in every time gap with filler noise.
Giving enough lead-time between takes is essential when it comes to screencasts. If a mistake is made during the filming process, it’s fine to stop and restart if there is enough lead-time. To smooth the transition, eliminate blunders & filler time and use room tone.
Use crossfading if there’s a transition in a video that doesn’t require room tone but does require a little smoothing. Most non-linear video editing software works in one of two ways:
Videos aren’t just big on the screen; they are also big at files. Some tools, such as Screenflow, save the entire project as a single file as a .screenflow file.
Other software generates several different files, including source files, project files, and rendering files. All of them are enormous. To make things a little easier, use an external hard drive.
It’s a fantastic notion to seek quality when purchasing an excellent external hard drive. If you’re working with video, you’ll need at least 500GB of storage, but we recommend 1TB or more.
Examine transfer rates or the time it takes to stream data to and from the computer. It’s crucial for artists preserving and transporting large files to understand that a 1.8GB video transferring at.05MB/sec will take hours, but only a few minutes at 25MB/sec.
The higher the video resolution, the larger the file, and thus the better the connection required to watch, stream, or download the video in a timely manner.
We have no control over our viewers’ internet speeds, but we can do our best with what we do have—export videos in the greatest possible quality before compressing them.
Creators may generate high-quality content from home and on a budget by applying these DIY home video recording setups and suggestions.
P.S: You can hire video editing companies to get the post-production done for you.
The most challenging part after the video production is the post-production, and not everyone can be a pro editor.
Here you need some professional assistance, and BuzzFlick is the one you have been looking for. It is a US-based video animation production company that has proven itself as the best video editing and post-production service provider around the globe.
BuzzFlick’s animation team and sales reps are available to collaborate with you and smooth the video production and post-production for you!
Want to grab the attention and eyeballs of your audience? Use these cool video effects in your videos and make them look amazing
Read More
Get A Custom Quote Now
Copyright © Buzzflick 2026, All Rights Reserved.
Get Video Animation at Reasonable Prices at BuzzFlick! Get A Quote!